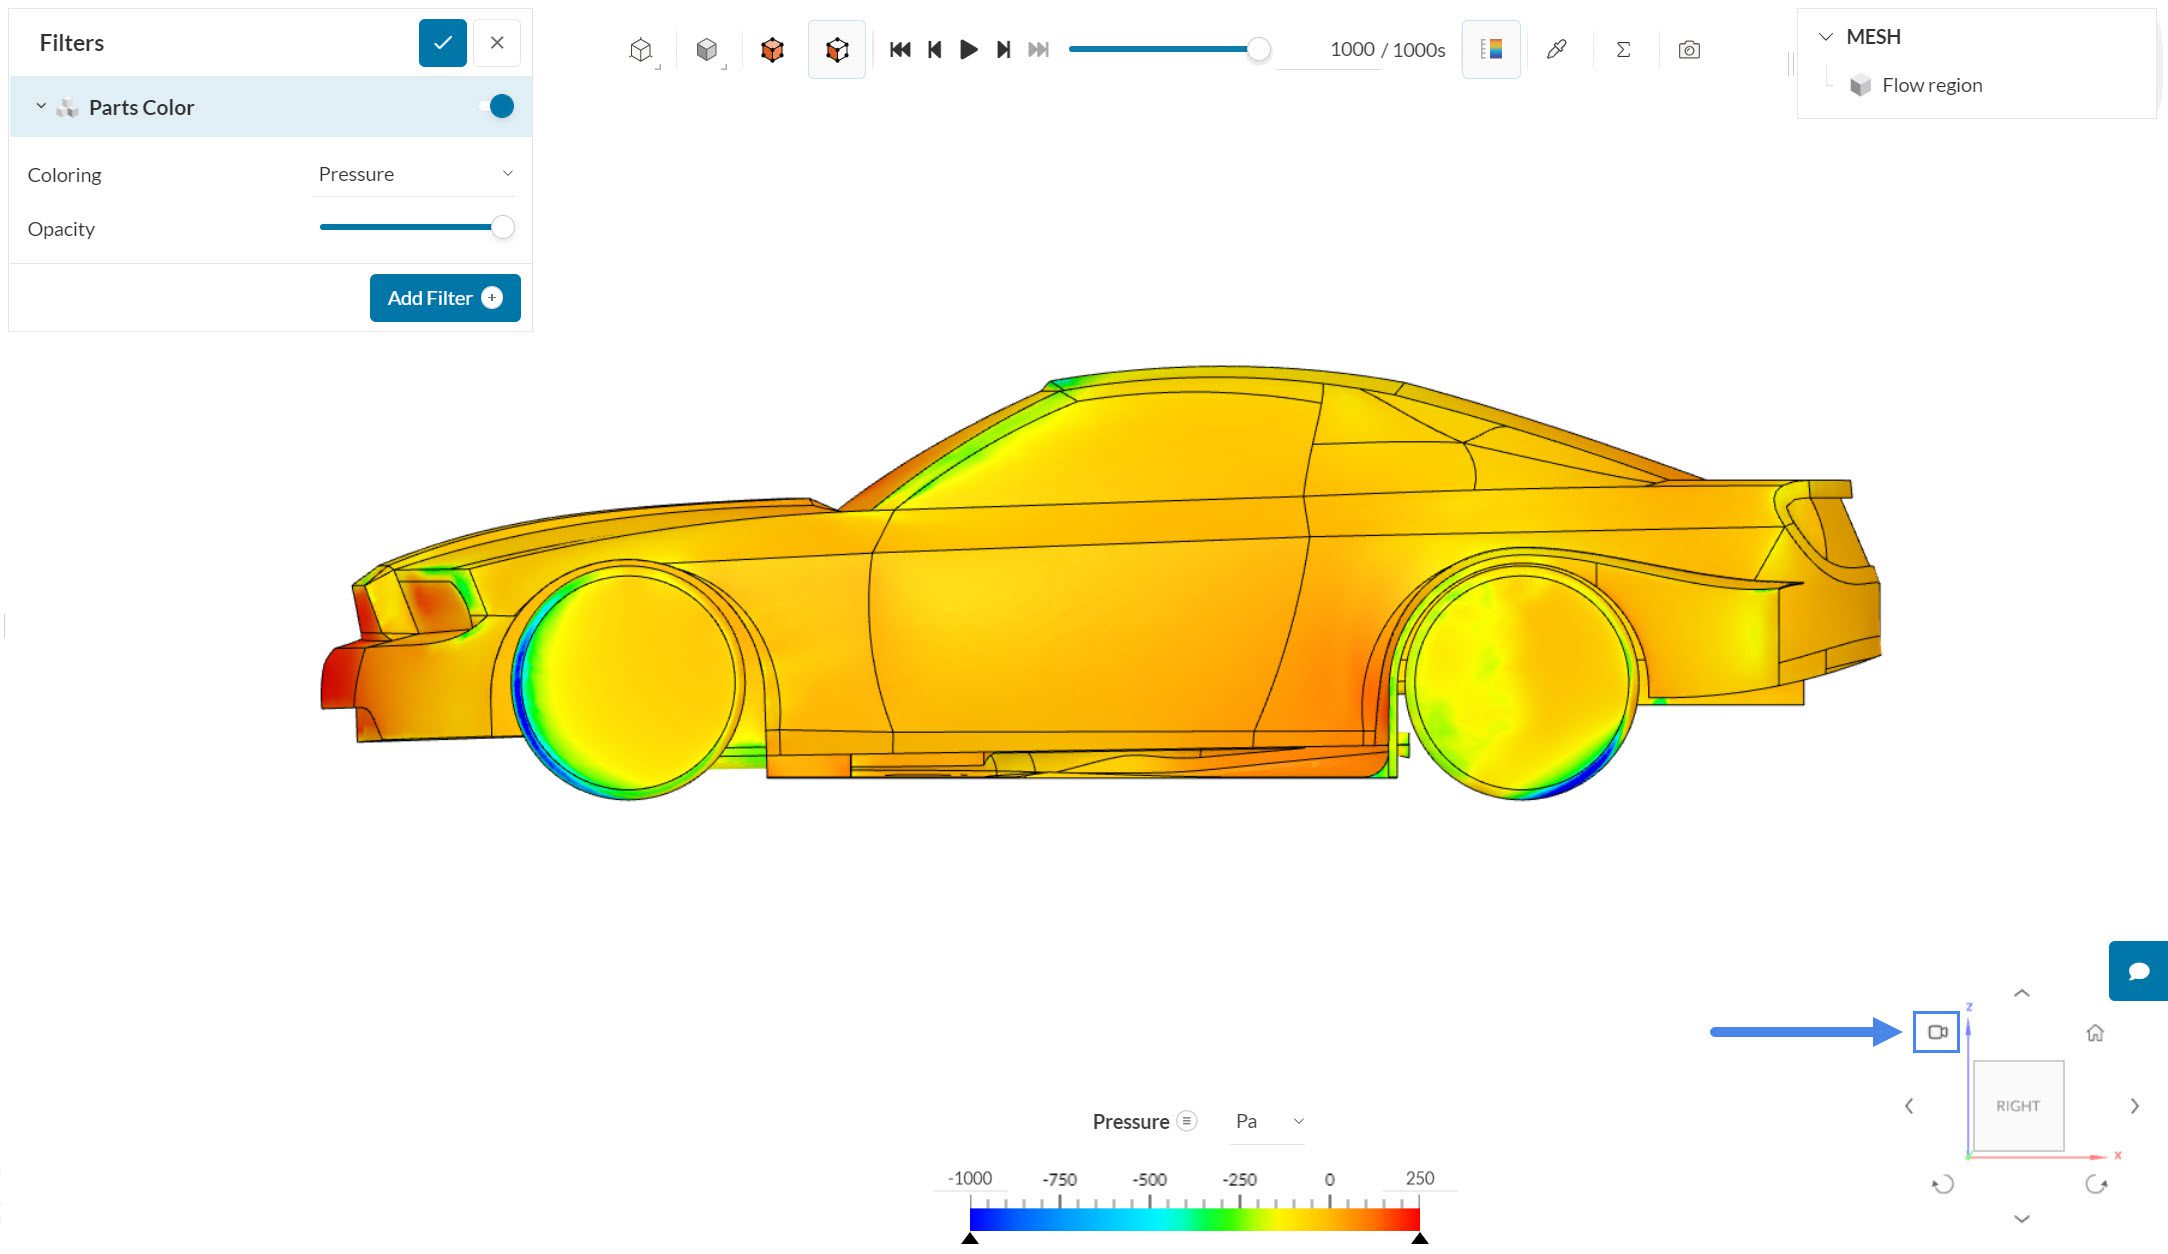
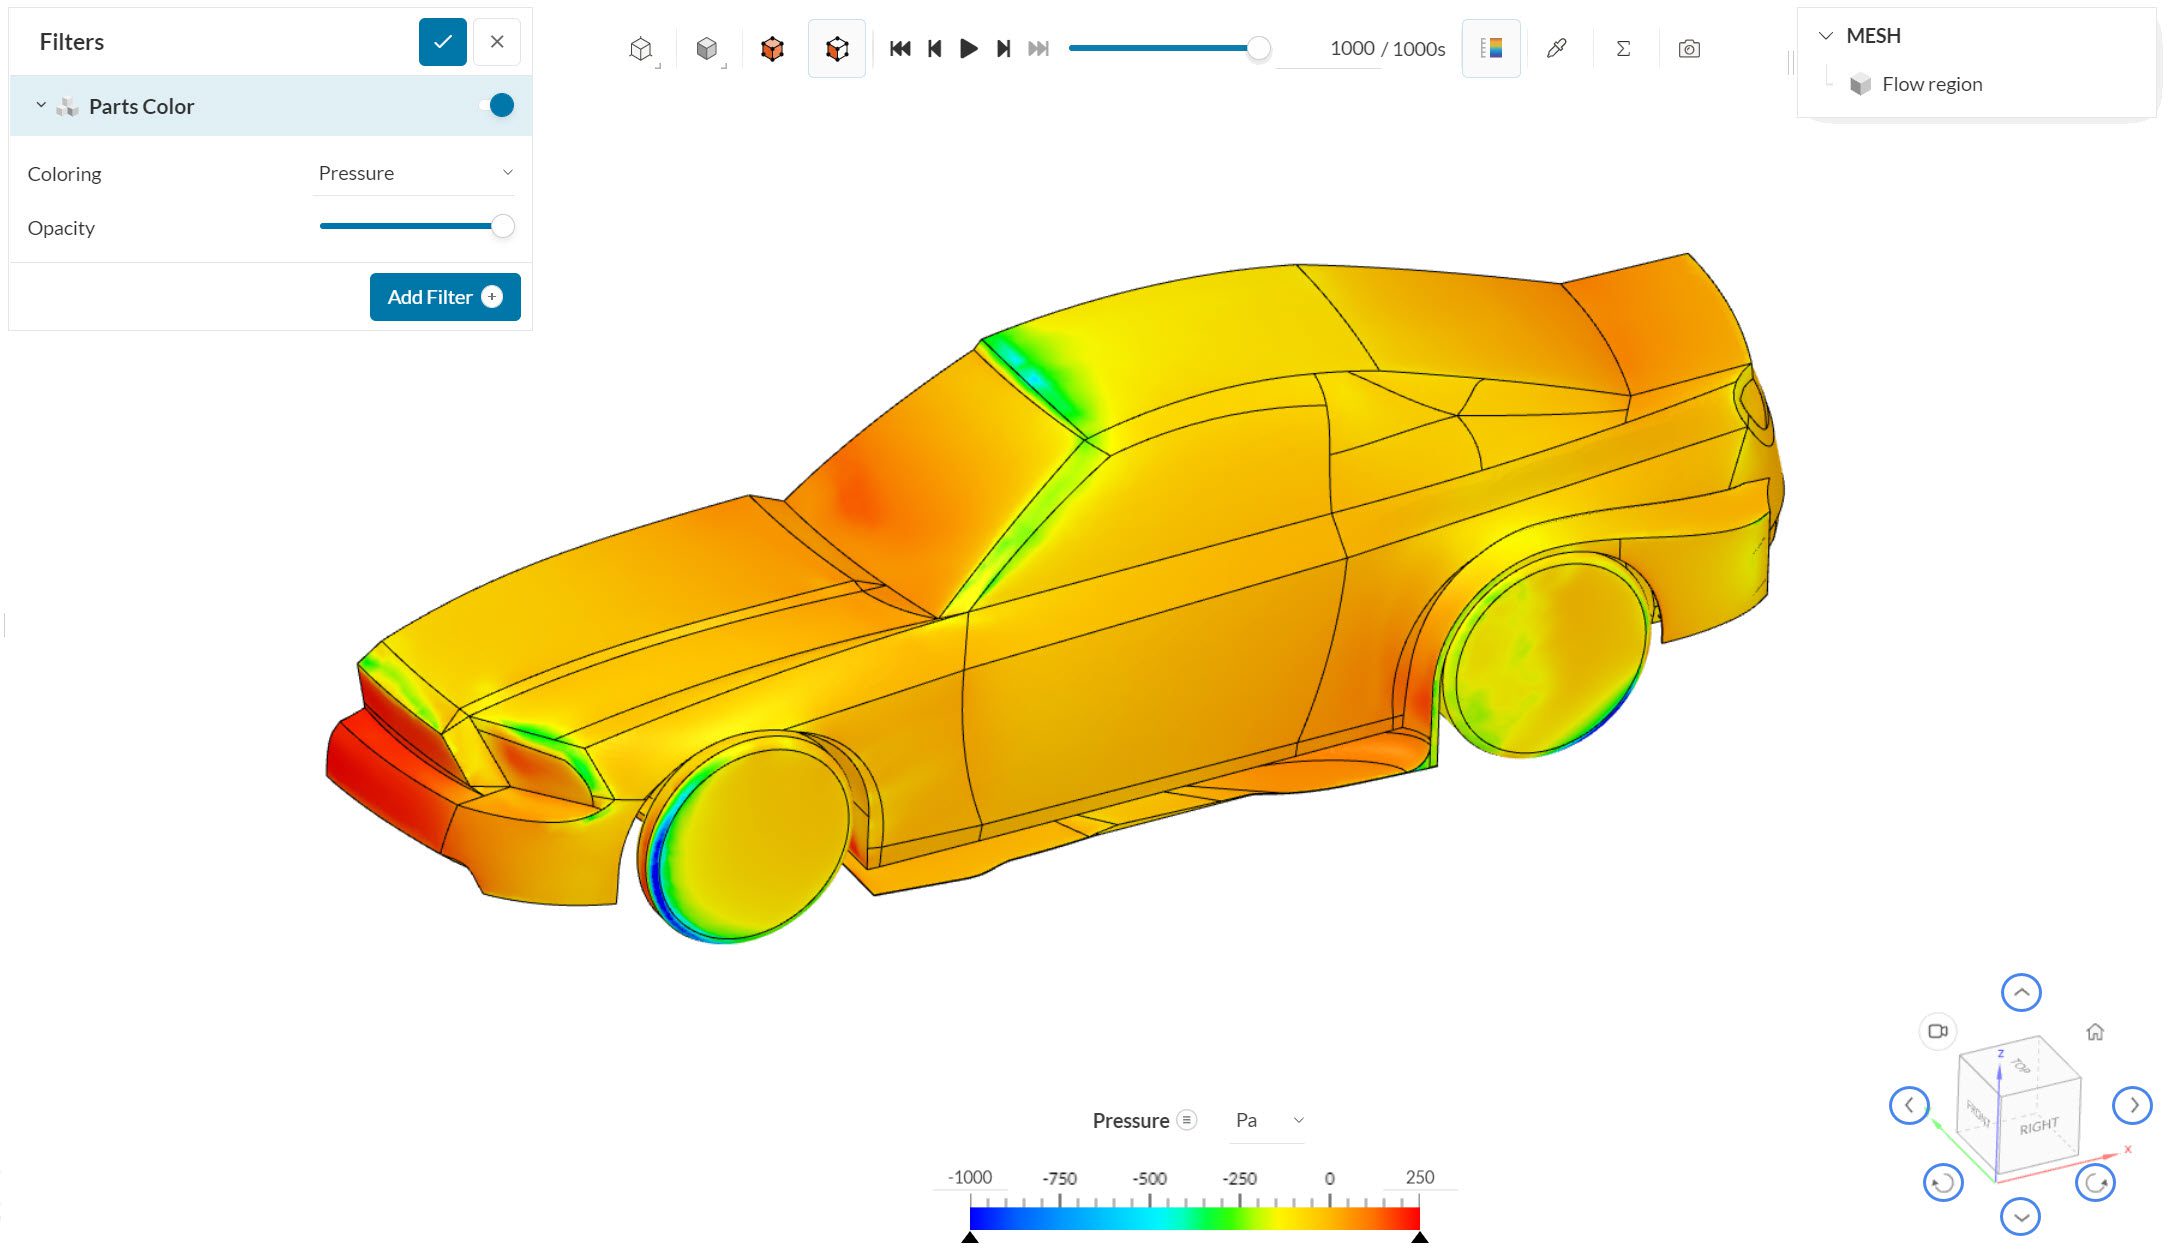
From time to time, simulating a project requires the comparison between the results from different runs. Providing a neat report might require to recreate the same angle and add screenshots side-to-side. Of course this can be troublesome to perform manually, so adding a custom camera position for your screenshots could save time, add quality, and finally improve your post-processing experience.
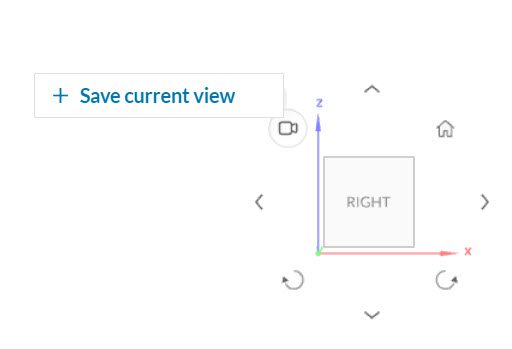
This feature can be seen at the top left of the orientation cube after entering the post-processing interface:
In the following sections you will learn how to create, rename, delete, and eventually use a custom camera configuration.
1. Adding a New View
Before you add a new camera position place your model manually, either by using the cursor, or the orientation cube’s arrows.
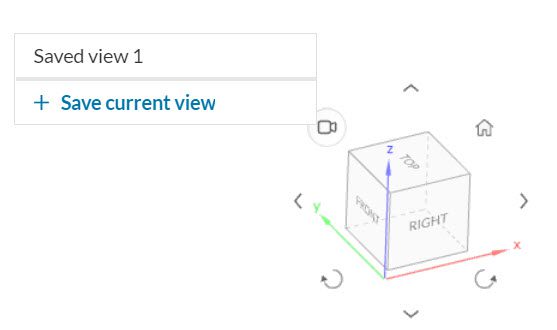
After you are done with the placement, click on the icon of the feature, and select the ‘Save current view’ option:
Then the new view will be placed on the list that can be accessed at any given time:
Note
The saved views are only available inside the project they were created.
2. Renaming and Deleting Saved Views
You might want to rename a saved view so you distinguish it and avoid confusion, or even delete one that you no longer need:
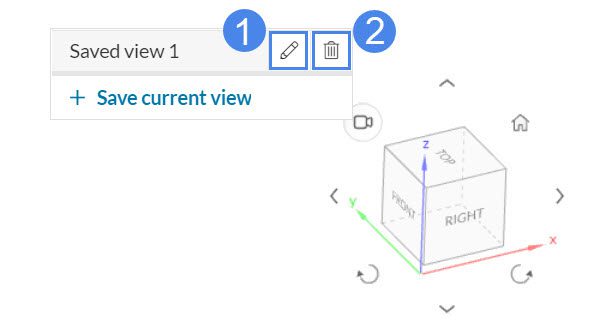
- Click on the edit icon to rename your current saved view.
- Click on the delete icon to delete your current saved view.
3. Using a Saved View
After saving a new view, and potentially renaming it as well, you can open different runs from the same projects, and take screenshots where the model is positioned according to the pre-defined configuration.
Note
Keep in mind that the camera positions can be created and deleted only by the project editor.
You just have to click on the same feature icon, and choose one of your desired saved views:
Tip about comparing results
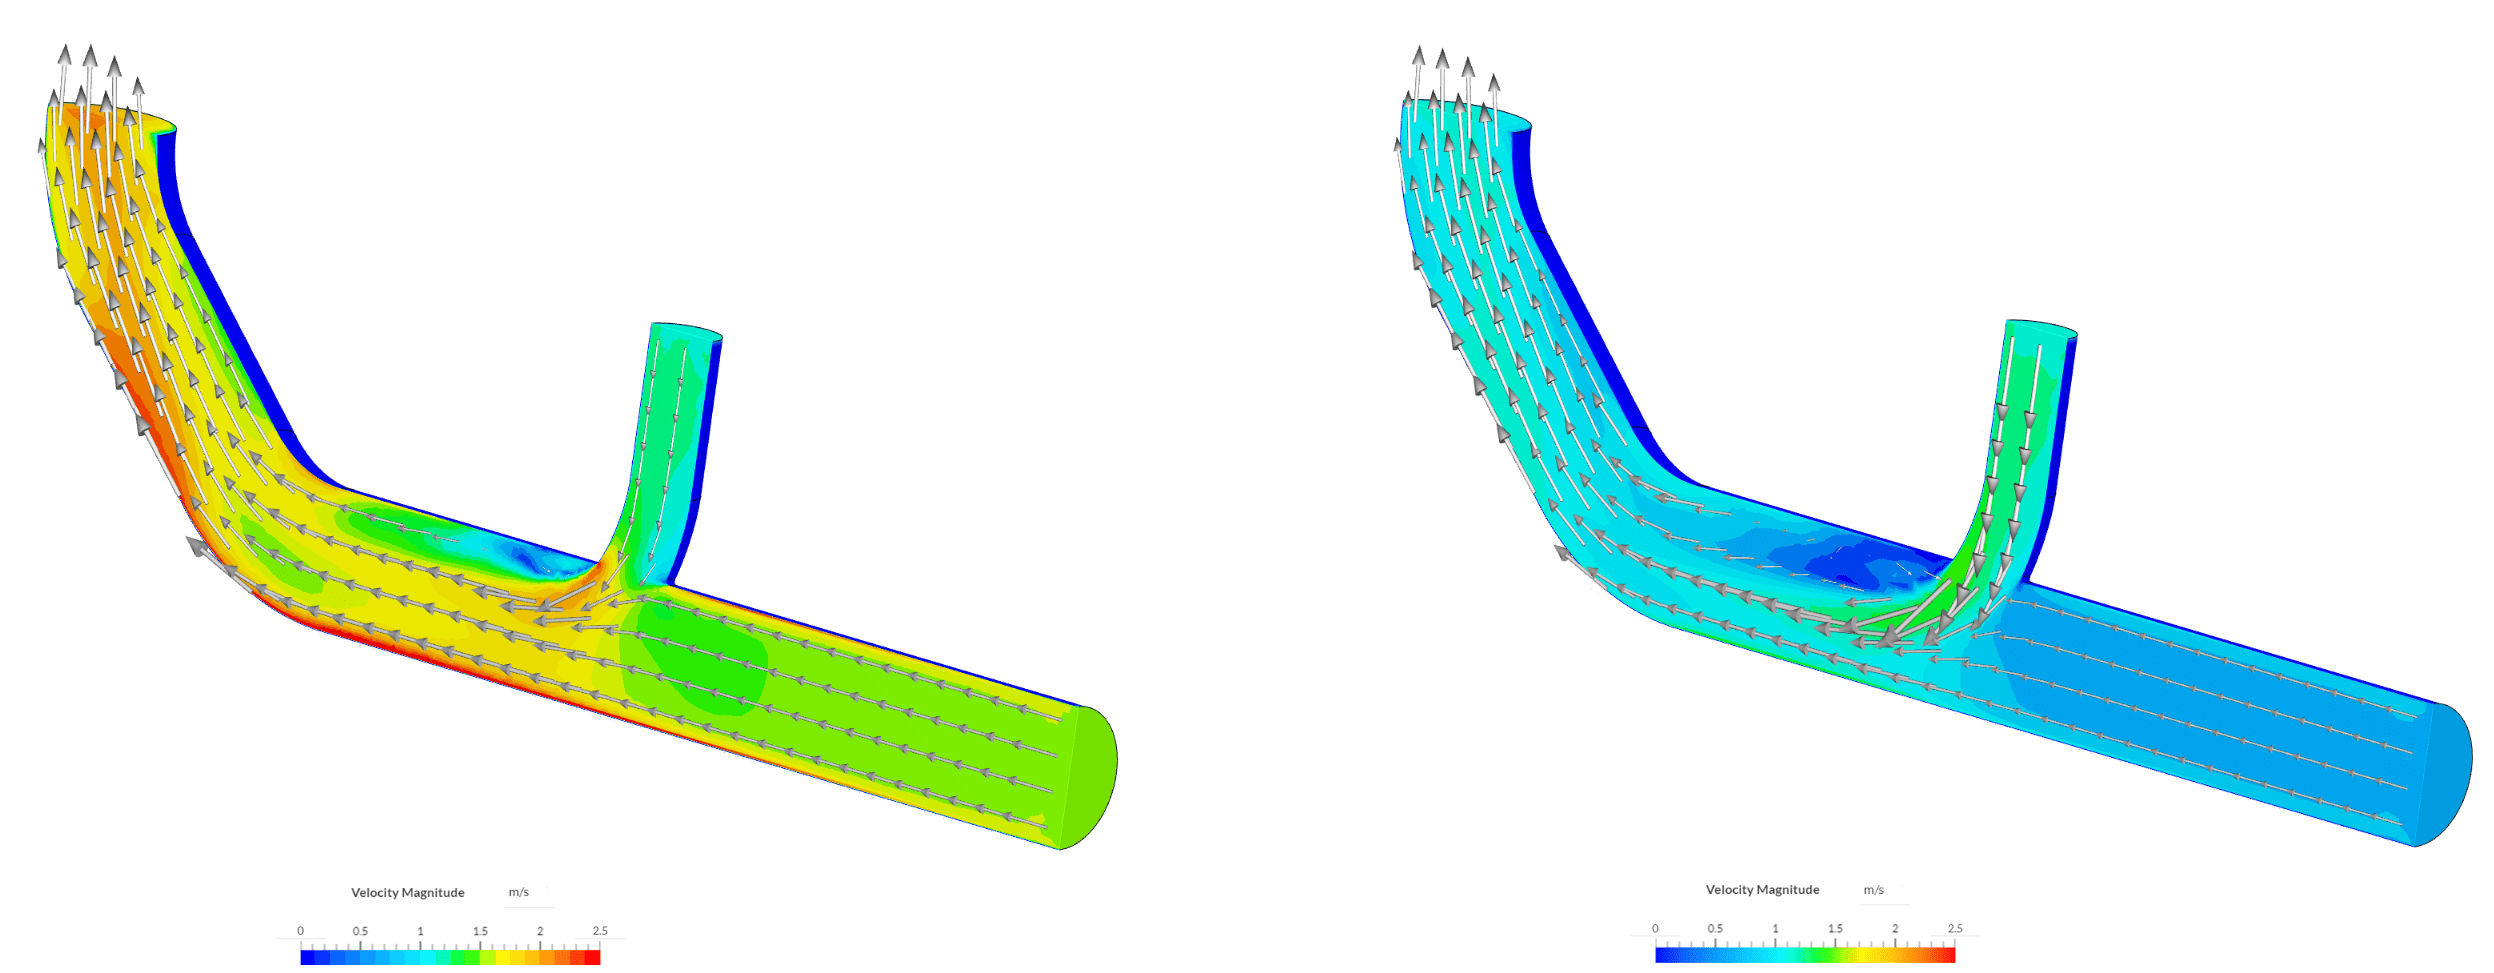
If you wish to effectively compare the color distribution between different runs of the same simulation, make sure you are visualizing the same parameter, with the same range displayed in the legend bar.
Note
If none of the above suggestions solved your problem, then please post the issue on our forum or contact us.


