When performing a finite element analysis (FEA) on assemblies, it is essential to model the connections between adjacent parts properly. This article explains the proper workflow to model welds within a structural simulation.
Workflow for Weld Modeling
Accurate modeling of weld geometries can be very difficult. The width of the weld bead, as well as the amount of melted base material, changes the shape and size of the weld. Also, there are many factors that can change the final result when welding, especially human error. Small changes in the weld beads would be very tedious to recreate in the CAD geometry, and without destructive testing, getting a precise view of the weld is nearly impossible.
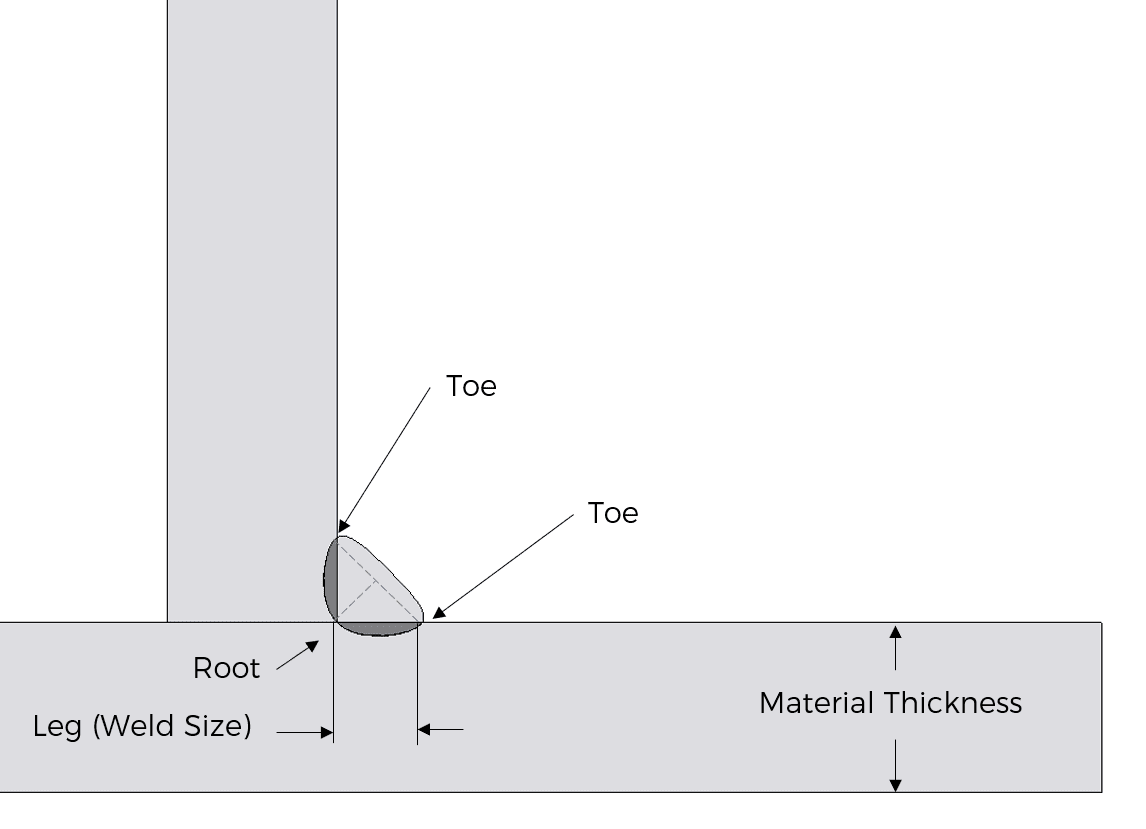
A standard sketch of a weld bead applied on a base material can be seen below:
Fortunately, there exists a much simpler solution to accurately model welds. Once the geometry is uploaded to the SimScale Workbench, the two welded parts just need to have a bonded contact. This locks the two adjacent faces together, and so it isn’t necessary to explicitly model a weld bead.
The bonded contact will hold the two parts together throughout the simulation, just like a weld does in reality. This approach won’t show the stress concentrations within a weld, but it will return accurate results for the rest of the geometry.
When an assembly or a multi-body part file is uploaded to the platform, the adjacent parts will automatically be given a bonded contact. Leaving the contacts alone will allow the simulation to perform as expected. For more information about contacts, please visit this page.
For more information about finite element analysis, be sure to check out the following tutorials:


