This knowledge base article answers the following two questions:
- How to import geometries from Fusion 360 into SimScale?
- Does SimScale have an add-in to simplify the process?
Solution
There are two ways to import geometries from Fusion to SimScale. We will go through them in this article.
First Method: SimScale Add-in for Fusion 360
SimScale has an add-in for Fusion, which can be downloaded for free from Autodesk’s app store for Windows and Mac OS.
After downloading and installing the add-in, users can easily take their models from Fusion directly to their preferred SimScale Workbench.
Once the geometry is ready to run simulations, follow these steps to import it to SimScale:
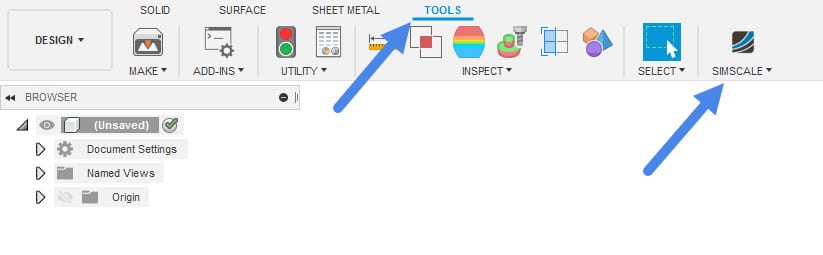
- Within Fusion, please switch to the “Tools” tab. This is where add-ins are listed. Click on the SimScale icon and launch it.
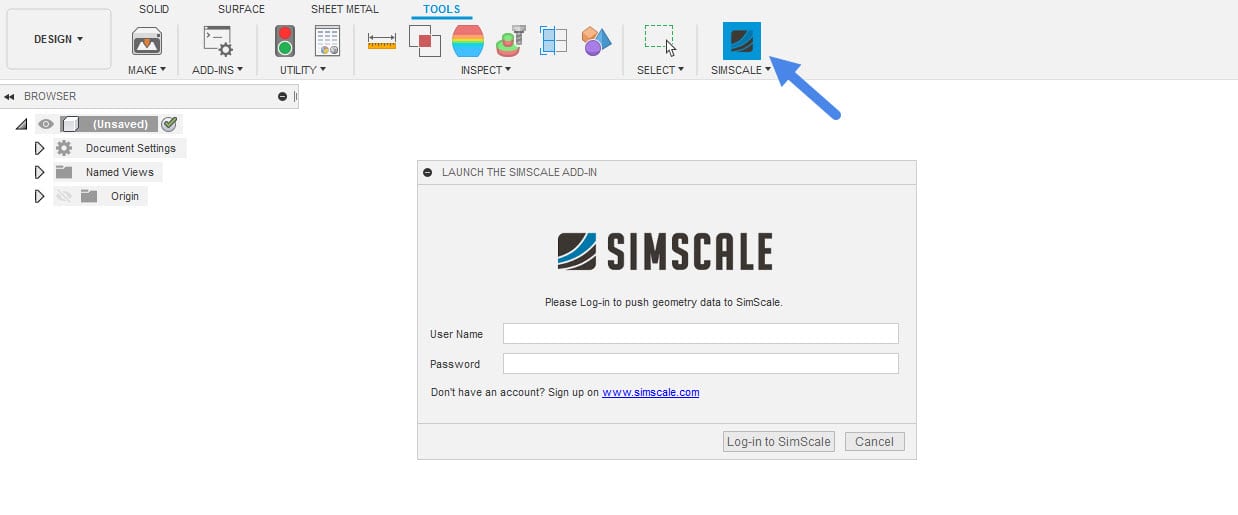
- After launching the add-in, enter your SimScale credentials. If you currently don’t have a SimScale account, make sure to sign up on this page.
- Now, in the drop-down menu, there is a list of all existing projects in your Dashboard. Choose one of the projects to import the geometry.
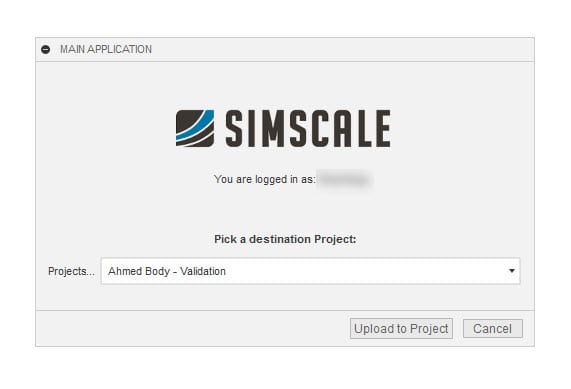
After clicking on upload to project, the geometry is available directly in your desired Workbench!
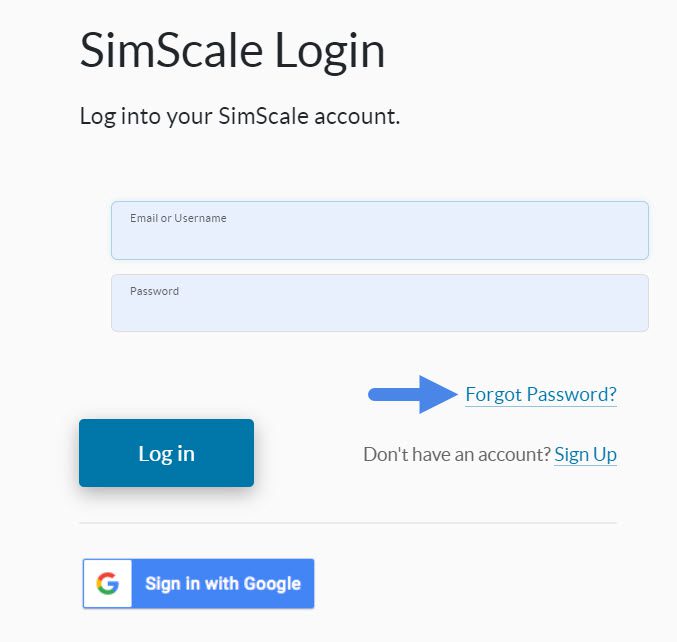
Important: For Users Who Connect to SimScale Using Google
Users who created their SimScale accounts using Google don’t receive a password for their accounts automatically, which prevents them from using the Fusion 360 add-in. The steps below can be used to obtain a SimScale password if you signed up using Google:
1. On the login page, click on the ‘Forgot Password?’ button:
You will receive an email with instructions to set up a password for your account.
2. With the password in hand, you will be able to use the Fusion add-in.
Keep in mind that you will be able to log into SimScale using Google SSO or the newly created password.
Second Method: Exporting and Importing
The second method consists of exporting the geometry from Fusion and then importing it to SimScale.
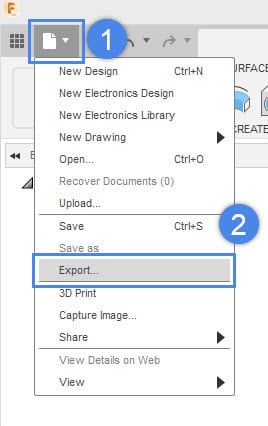
In Fusion, when the geometry is ready, click on File and select Export:
Make sure to export your geometry in a format that SimScale supports.
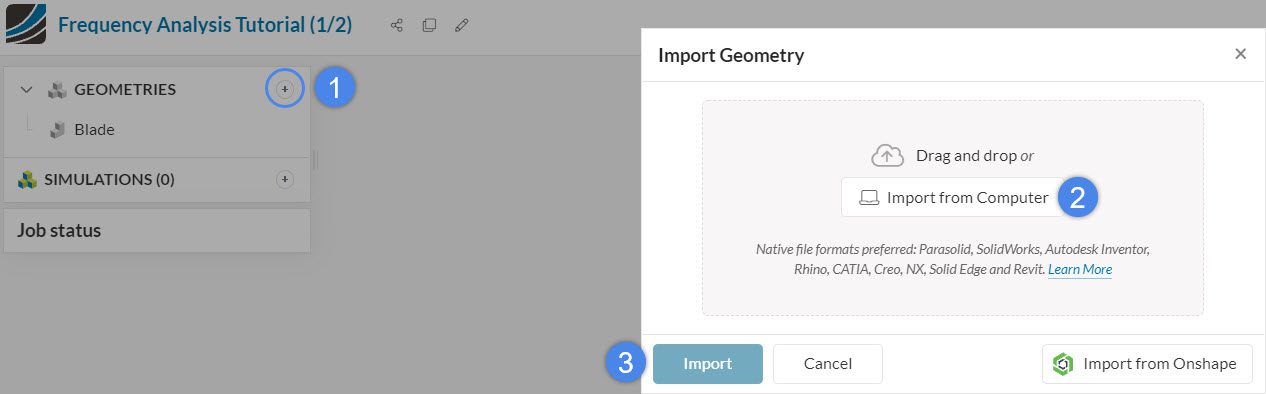
Afterward, navigate to the SimScale Workbench and follow these steps:
- 1: Click on the ‘+ button’ next to Geometries;
- 2: Select a file to upload or drag it to the box;
- 3: Click on the ‘Import’ button.
The geometry should now be visible in your Workbench.
Note
If none of the above suggestions solved your problem, then please post the issue on our forum or contact us.


