Markus LempkeComputational Designer at Siemens Energy
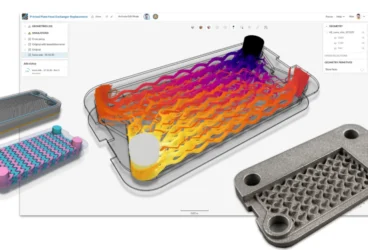
"Implicit modeling and direct simulations on implicit geometry is a real step change in speed and robustness of optimization workflows and necessary to unlock the real potential of additive manufacturing."
Professional
Request pricing
Antonio RadenićBattery System Engineer at Rimac Automobili
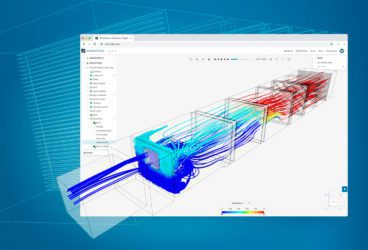
"Using SimScale in the early R&D stages of the product, we were able to fully leverage simulation capabilities into our product design process. This allowed us to quickly set up different cooling scenarios for our battery cells using SimScale's CHT module to efficiently analyze the impact of design changes on battery module performance."
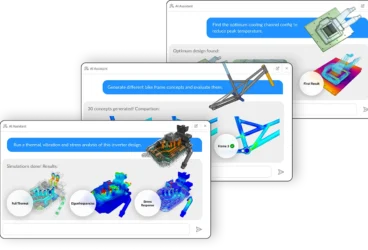
"The design was complex, and using traditional simulation‑driven optimization to find the best‑performing configuration would have taken months. We now have an AI model that can generate a new optimized design in under an hour, and I have complete confidence in the results.”