Based on customer feedback, SimScale recently released an update that allows the user to apply individual colors to parts in the post processor. This setting overrides the global color and current field setting. The user is able to set both the color and transparency level.
For example, maybe in this particular incompressible CFD simulation, we want the exterior walls to be transparent grey while inner features are opaque for clarity:
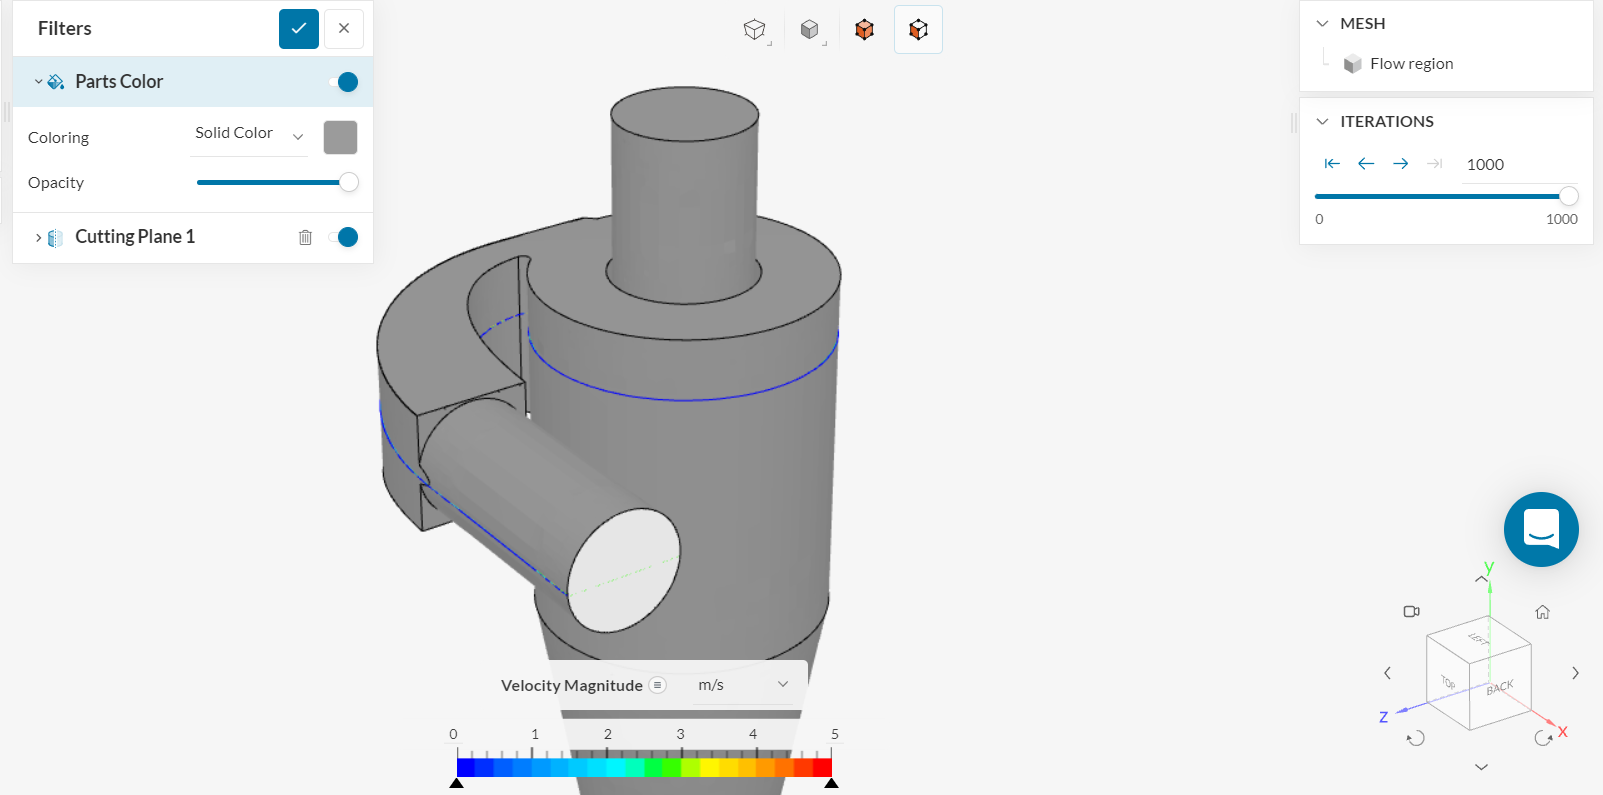
We start by activating the face selection option,

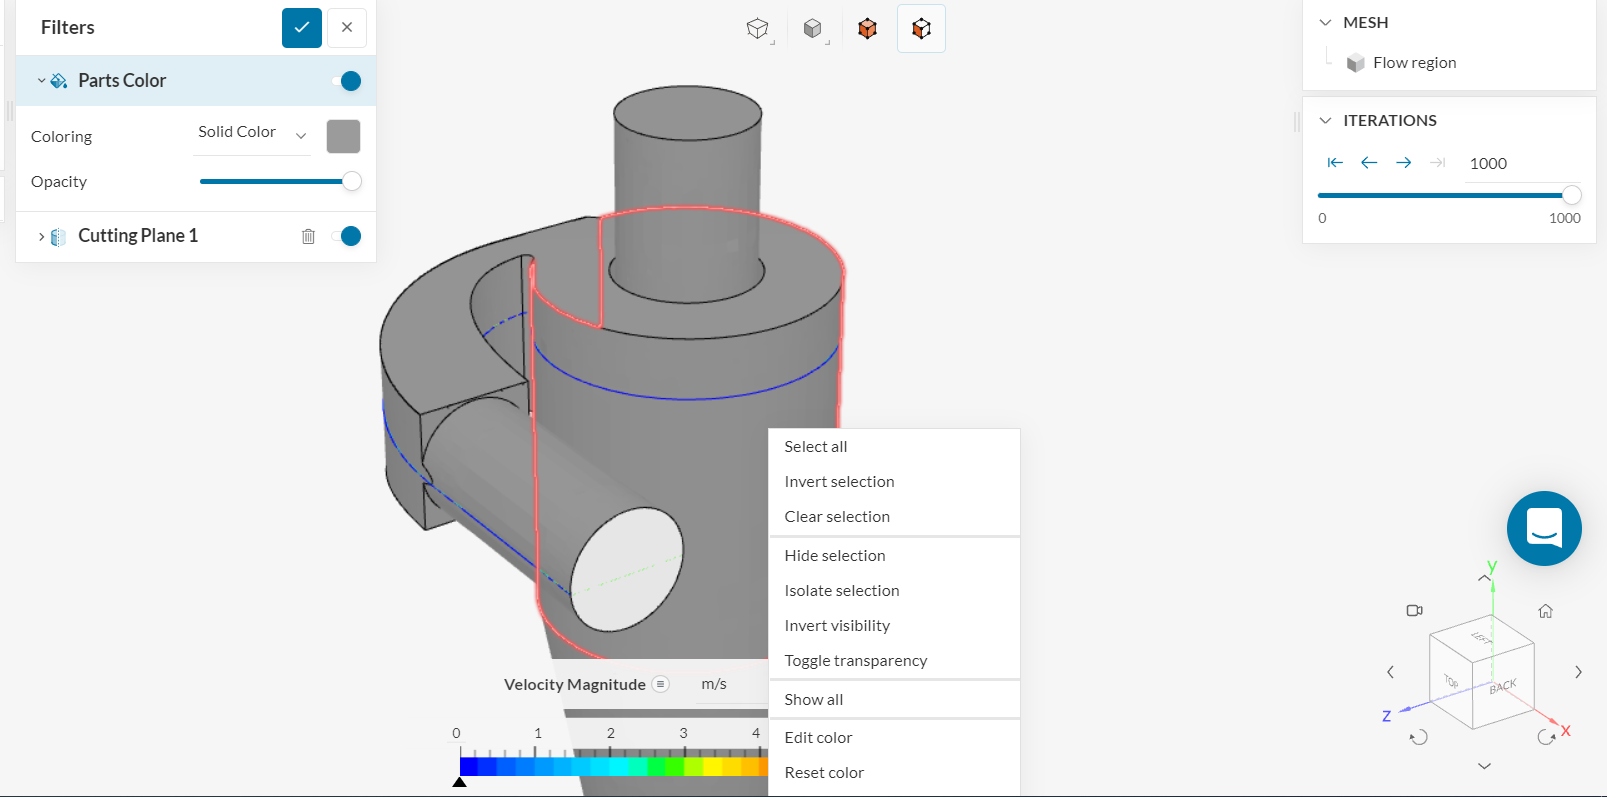
Then the outer face is selected and “Hide selection” is picked from the right-click menu to gain visibility to the interior:
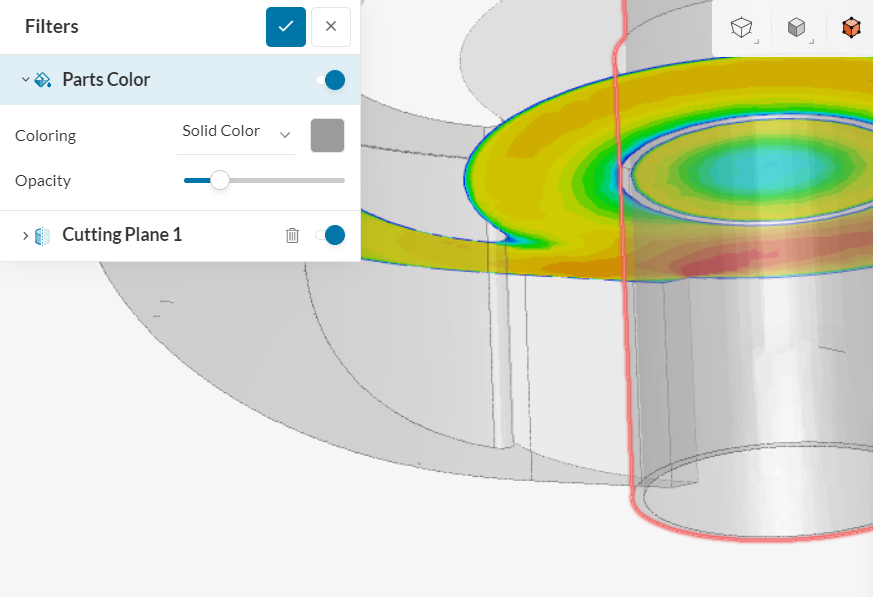
In the Filters panel, a low opacity “Solid color” should be set for the Parts Color filter. This filter will apply to all walls, but we will override it in the next step on the interior faces.
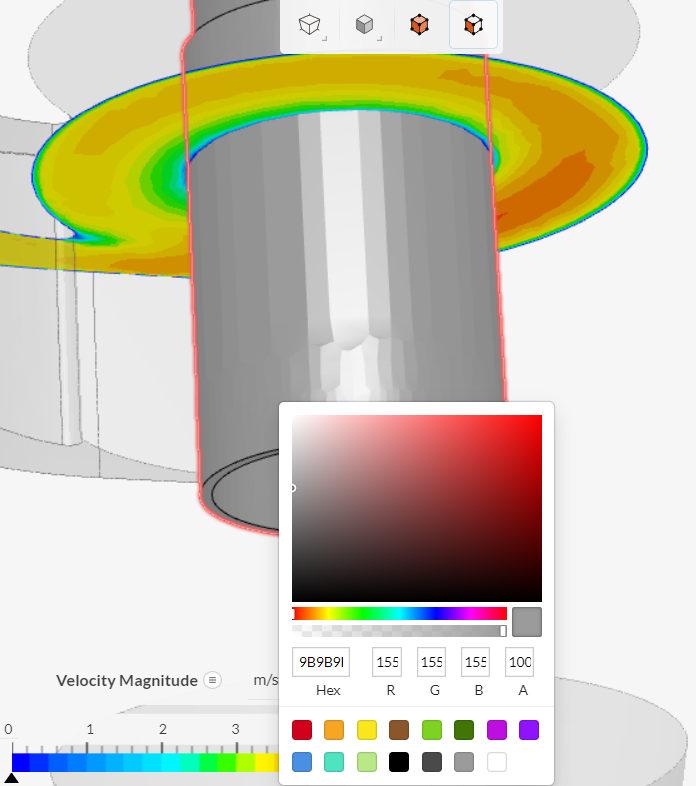
After selecting the interior faces of interest, simply right-click and select “Edit color” to bring up the new color editor palette. The grey color can be selected and the transparency bar should be slid all the way to the right to make the selection full opaque:
Finally, the previously hidden surface can be restored by right-clicking and selection “Show all”:

Similarly, whole part volumes can have their color changed by first activating the volume selection option:

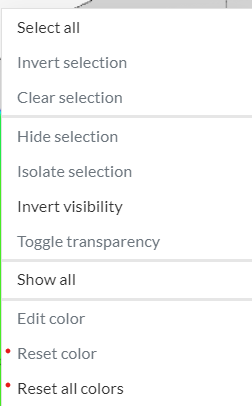
Any or all customized color(s) can be reset by choosing the respective option in the right-click menu:
That’s it! This new feature will allow you to better highlight flow values of interest against plain model surfaces and also call ease annotating model boundary conditions and components in presentations.