@dschroeder resumed it very well.
I realized the importance to pay attention to meshing correctly a geometry (and applying BL with care), when we tried (@DaleKramer, @Ricardopg and me) to get 100% matching results on NACA0012 airfoil profile, expecting that correct simulation have to be as good as tunnel tests executed by NASA in the past. We spent many weeks tweaking mesh parameters, BLs (1 - 64 layes), Numerics, practically everything. At that moment TET mesh was proposed to become a ‘standard mesh’ and I put a ‘pressure’ on it, running ‘quasi 2D’ simulations dozens of times, for all angles tested i tunnel.
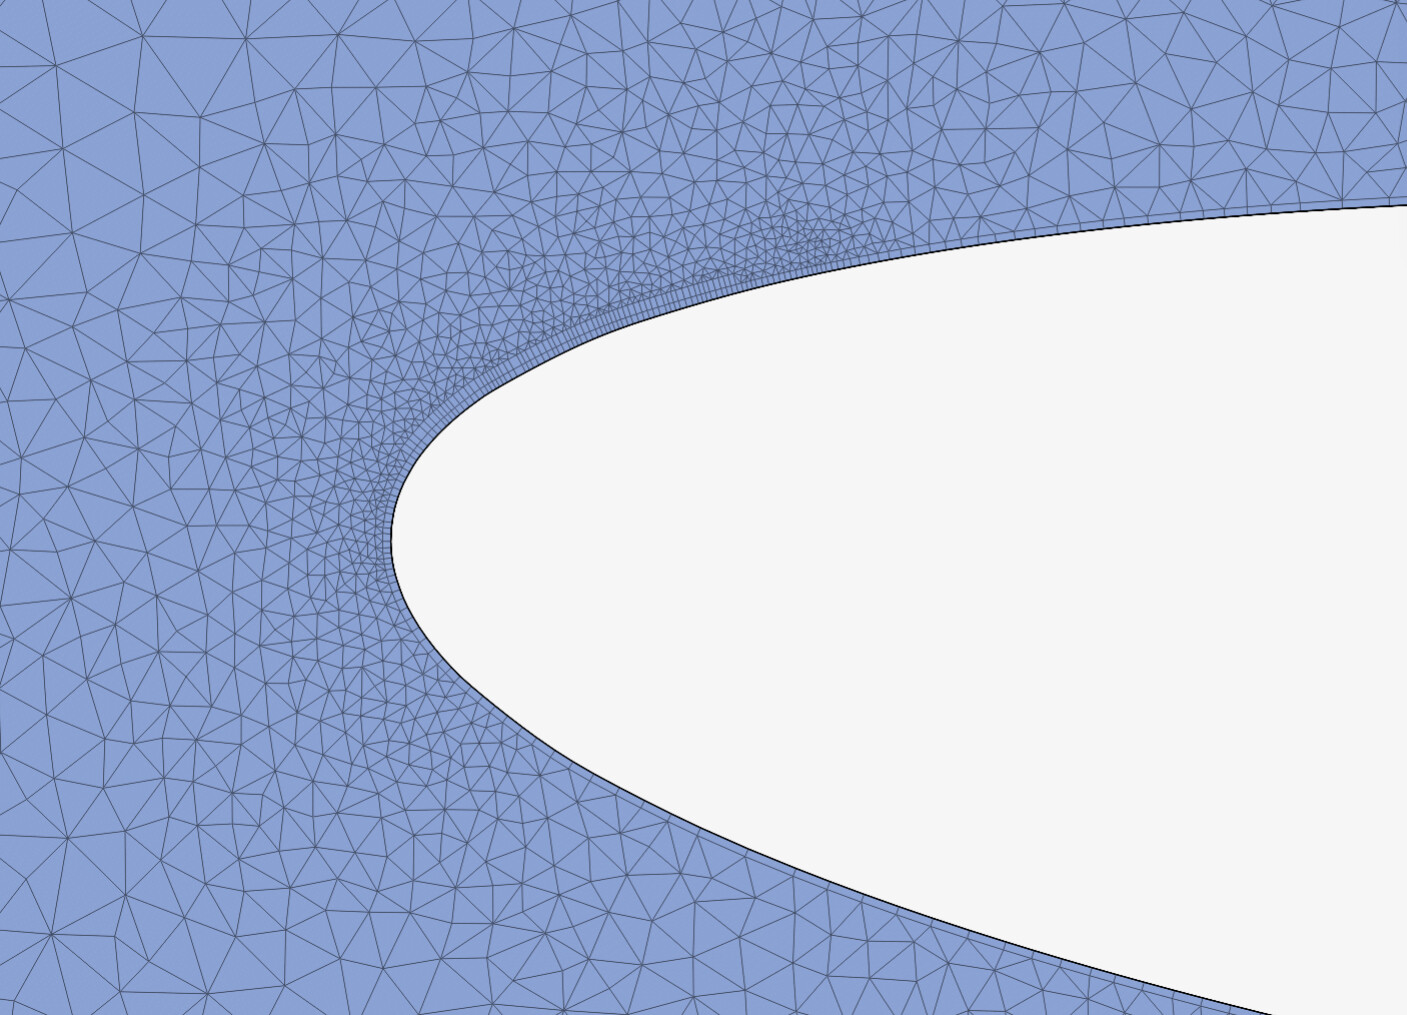
In a kind of intuition I applied a ‘patch’ on the profile surface (adding few small faces) and making BL more dense there while compared to default automatic TET mesh. And that was the ‘trick’ which allowed me to get results much more acceptable (92-96%, for lift and drag [drag being very difficult to match tunnel results]). Here is the example of NACA0012 TET mesh: you can see strange 2-layers BL near the LE, but not on the LE.
At that moment, pandemia came and we all abandoned that study. I regret I left it without descriptions and necessary comments, as I believe it would help others to understand the importance to observe pressure gradients and try better BLs and mesh in those zones.
I admit that adding special faces to the geometry is kind of overkill (in that case justified by whish to be in the vicinity of real results). Automatic TET mesh is trying to do that already. As Don states, you should realize a trade-off: keep it simple as possible, run enough simulations to grasp the flow behavior and you can survive with your core-hours budget for a year or more.
Thank you guys for opportunity to share some knowledge!
Cheers,
Retsam