This article will cover the features regarding custom materials within SimScale. Additionally, the workflows on how to set custom material properties and the custom materials library are discussed.
Here is the short answer to common questions on the topic of custom materials:
- What can I do if the default SimScale’s library does not cover my material and its properties? – Create your own materials!
- Can I add new materials to the library manually? – Yes
- Can I upload material properties from my computer into SimScale? – Not through the Workbench, instead, you need to manually input the properties.
Do you need to create a large material library?
If you need to upload multiple custom materials, the manual workflow will probably not be practical. In this case, you can use our API to create your custom library and upload your materials data.
If you are interested in this approach, please contact support.
Default Material Library
SimScale provides some commonly used materials like Steel, Aluminium, Air, Water, etc., by default:
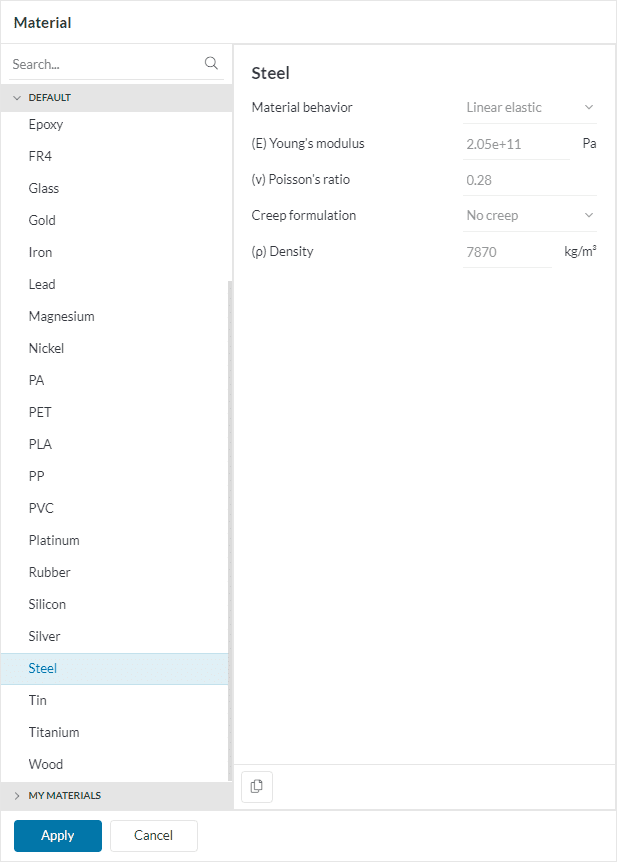
Default materials include both solids and fluids, and the specific material properties are displayed according to the selected analysis type (structural, fluid mechanics, heat transfer, etc.). To find out which analysis types are possible in SimScale, click here.
Customizing Materials
To define a material model for a simulation, that is not available in the default library, you can pick any existing material from the library and modify its properties (and name) as follows:
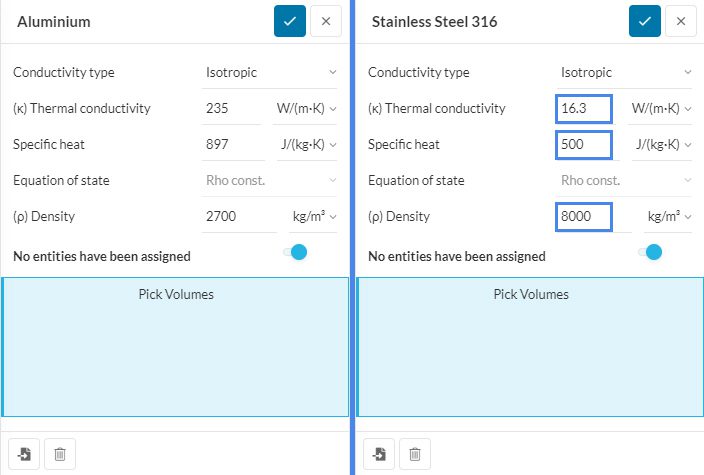
As an example from Figure 2, pick Aluminium from the default list of materials and change its properties to a Stainless Steel 316 variant. Once done click on the checkmark on the top right and save. The same goes for fluids too.
Conductivity Type
If you are curious about the example, in SimScale the Conductivity type settings is found within the solid Materials tab in the simulation tree. Three options are available:
- Isotropic
- Orthotropic
- Cross-plane orthotropic
Find here how to configure the Orthotropic and Cross-plane orthotropic settings.
User Material Library
If the custom material will be used in more than one simulation, it is more practical to create it in your user material library instead of inputting the properties repeatedly. The material models stored in the user library will be available across all your simulation projects.
In order to create an entry in your user material library, you can follow these steps:
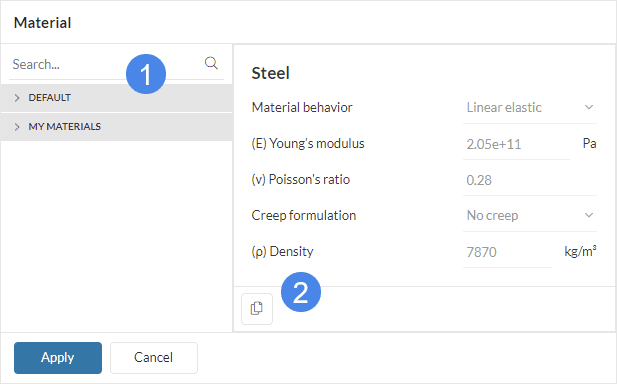
- Open the materials library by clicking the ‘+’ button next to Materials in the simulation tree, and select one material from the DEFAULT list of materials. It can be the closest one to your material, or any one of the available ones.
- Click the ‘Copy’ icon at the bottom. The new material item will be created and added to the MY MATERIALS list.
Now you can customize your new material:
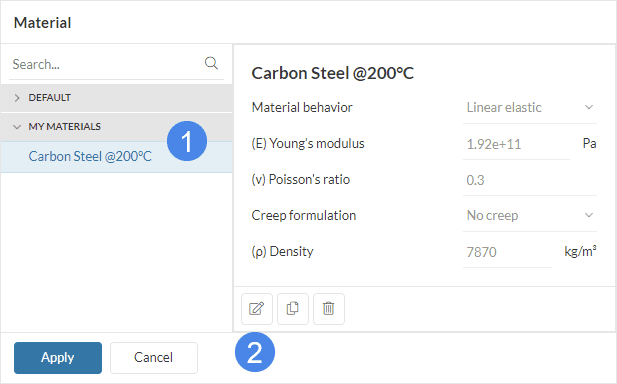
- Select the new material entry if it is not already selected,
- Click the ‘Edit’ button.
You will see all the available physical properties for the material:
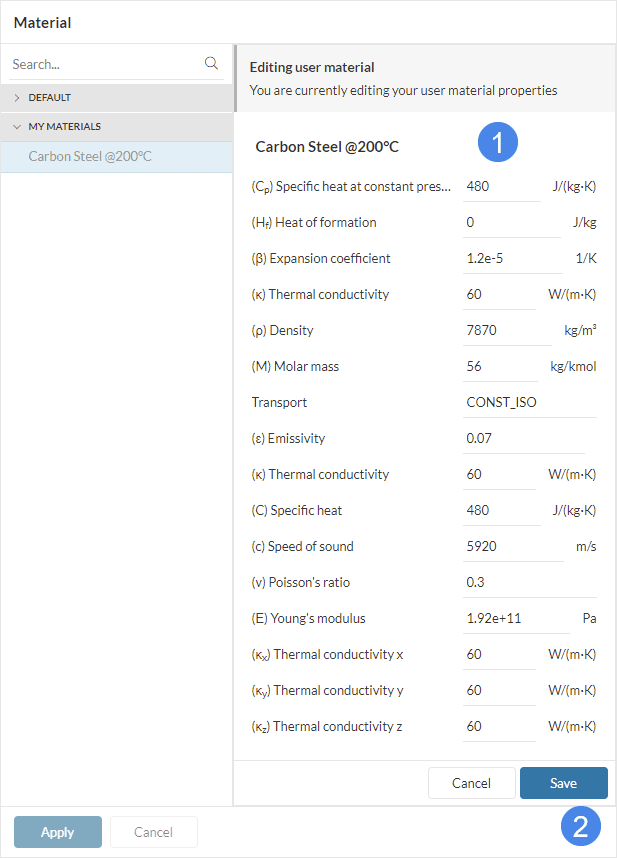
- Enter the custom name and physical properties for your material,
- Click ‘Save’ when you are finished.
After the material is created and configured, you can select it to include it in your simulation and assign it to your model, the same way as you do with default materials.
Note
Generally, the material properties are provided by the manufacturers or referred from research journals respective to the application.
Always ensure the accuracy of your assigned material properties for reliable simulation and accurate results.
To read more on materials in SimScale click here.