
Assess Pedestrian Wind Comfort with Online CFD Simulation
No credit card data required
No credit card data required
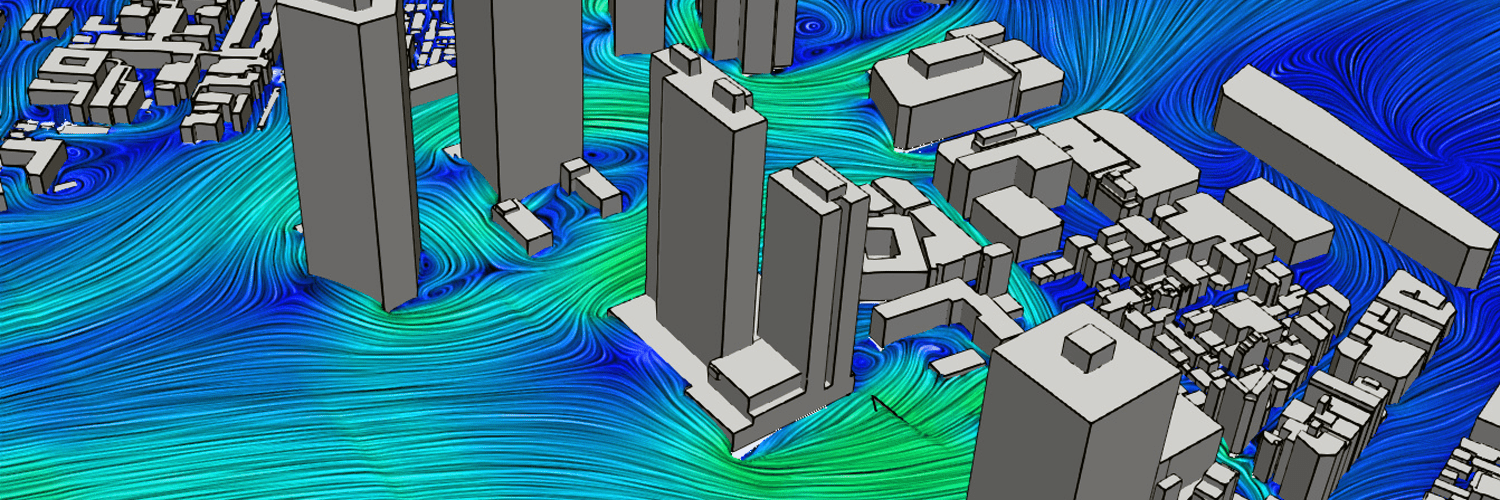
With the complexity of modern urban areas, pedestrian wind comfort simulations become a critical factor in urban design, helping to ensure the overall well-being, safety and comfort in pedestrian zones. Predicting and properly assessing wind flow, wind pressure, phenomena like the Venturi effect or a passage between buildings is an expensive process when using the experimental approach. Computational fluid dynamics (CFD) simulation helps engineers and urban planners investigate all of these factors early in the design process, long before investing in wind tunnel testing.
Transient simulations have historically required a high investment of money and time to provide accurate results. This GPU-based solver uses the Lattice Boltzmann method (LBM) to tackle this problem by pairing high accuracy with unparalleled speed and is accessible via the cloud with SimScale. We partnered with Numeric Systems GmbH to develop this innovative feature through their tool Pacefish®. We have reduced running times for transient simulations from weeks and days to hours and minutes. Its ability to run on multiple GPUs in parallel enables turnaround times that are 20-30 times shorter than standard methods. Moreover, Pacefish® supports several turbulence models such as Smagorinsky, SST-DDES, Hybrid SST-IDDES and k-omega SST making it unique among other LBM solvers.

"To get the same results for our project with a physical test, it would take us months and would cost anywhere from $7k to $15k. With SimScale, we could just run a virtual test at the office in the web browser, which took only 18 minutes."
CAE Engineer at Johnson Screens – Aqseptence Group
Sign up for SimScale
and start simulating now